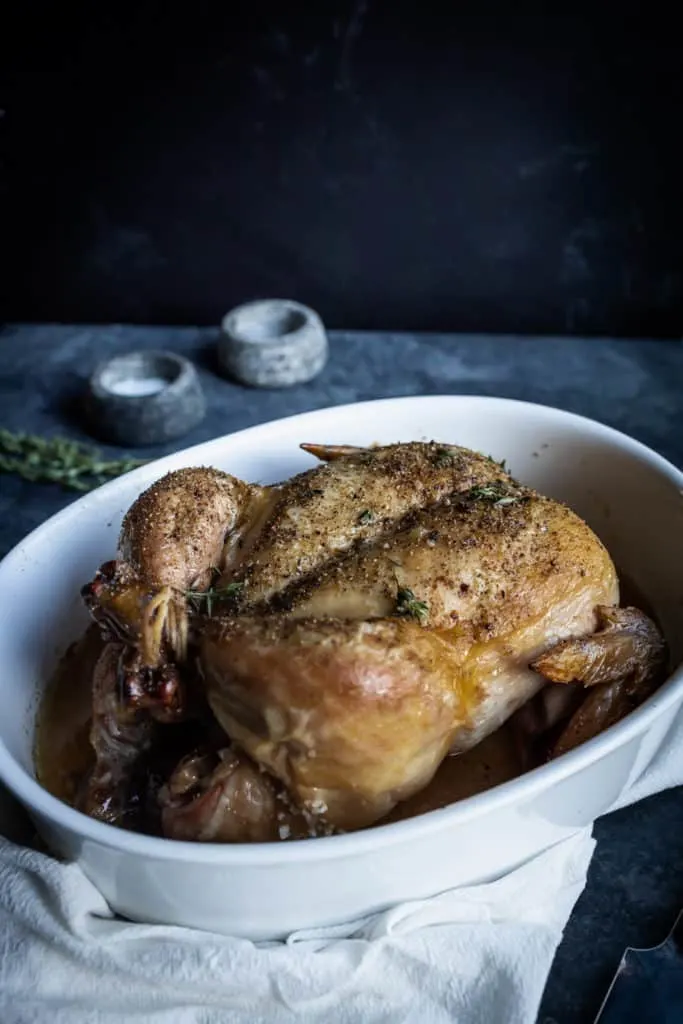
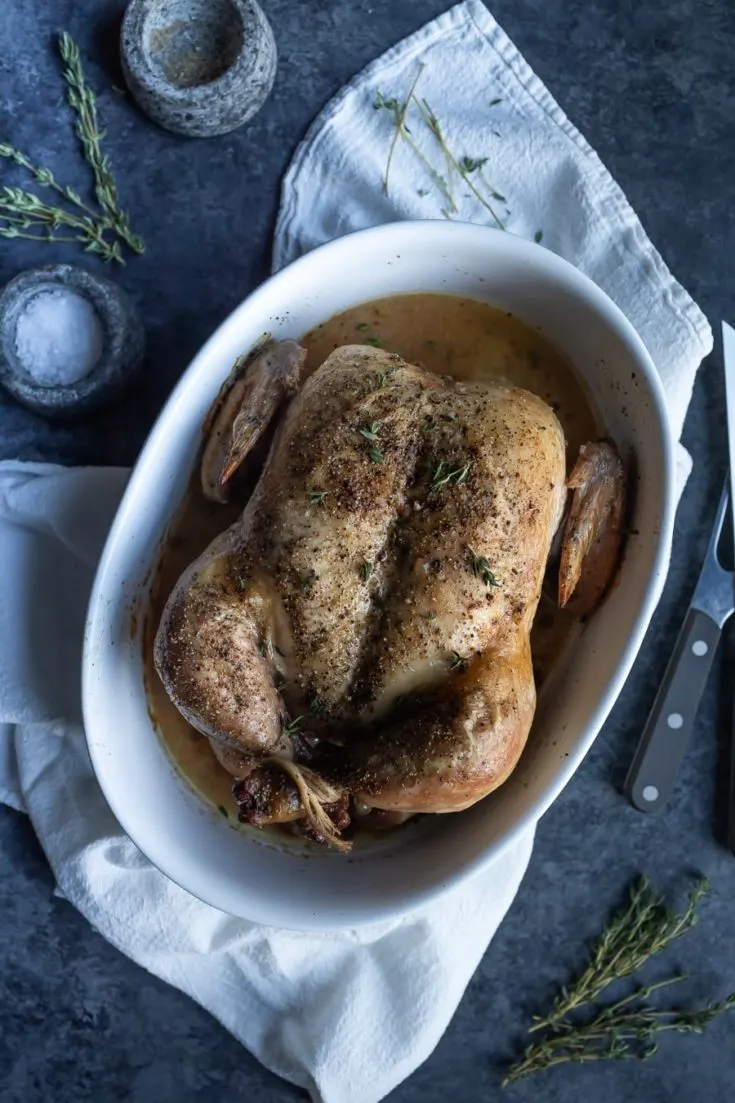
I am a firm believer that everyone should have a handful of recipes that they are really good at. The kind that can be whipped up with very little planning. For me that is my recipe for a Classic Roast Chicken. What makes this recipe classic? The use of simple ingredients, chicken, fresh thyme and salt and pepper. This roasted chicken is everything; flavorful, juicy and so moist that the meat literally falls off the bones.

I believe that a great recipe may take time to achieve and this is what has happened with this recipe. Once the pandemic took over my life, I suddenly had lots of time on my hands; so I decided to perfect my cooking skills. I had finished reading Salt, Fat, Acid, Heat by Samin Nosrat a few months before, which I recommend for anyone wanting to become a better cook, and felt there were areas I could improve on. While I was pleasantly surprised that many of my cooking skills were inline with what she wrote, I could be better. Take salt for instance, I learned I was completely under salting all of my food.
I won’t go into great detail about salt as that could be a post upon itself, but I will say that when I started using salt differently in my recipes and particularly cooking meat, everything changed as did my recipe for a Classic Roast Chicken.
I have been making roasted chicken the same way my entire life, and while it was good, it was never great. The skin was crispy but could be crispier. I tried many different things from adding water or wine to the roasting pan to stuffing the chicken with aromatics and citrus. Most of the chicken was moist but the breasts were always dry.
What did I do differently this time with my Classic Roast Chicken recipe? I have done a few things, but I feel the most important steps were salting the chicken two days before roasting, and then letting it air dry in the refrigerator for 24 hours. There are more tips listed but I feel these were the two key action items. Salting the chicken at least a day up to 2 days before roasting brings the flavor from the outside into the meat and evenly seasons. Trust me it does not leave your food over salty unless you use too much or the wrong salt. Leaving the chicken to air dry for 24 hours produces a really crispy skin and locks in the juices. So good ….
The next step that I feel is very important is oven temperature. I have tried roasting chicken at 425 for the duration of the cooking time as well as at a lower temperature for the entire time. Came out fine but not great. Then I started cooking the chicken at a high heat for 30 minutes and then lower the oven to a lower heat for the remaining time. Voila, a super crispy as well as juicy chicken where the meat falls off the bones. Bonus, the breast meat was more flavorful and not dry.
When I want the chicken to be a bit indulgent or am having company over I will rub butter under the skin of the chicken before roasting. This gives the chicken juices that accumulate in the pan a rich buttery flavor for the sauce to serve with the roasted chicken. We are not eating dairy this month so I left that step out and it was still very flavorful.
Tips:
- Use a cage or free range chicken instead of conventional. Besides being better for you and the environment, they are juicer and they taste better.
- Salt the chicken at least 24 hours before cooking. If I have time I will salt it two days before I plan to cook.
- 24 hours before cooking place the chicken in a glass container, uncovered and let it air dry in the refrigerator.
- One hour before cooking remove from the refrigerator to bring to room temperatue as this helps making cooking time more even.
- Seasonings should be kept simple and is something I learned from my friend Dominique. He lives in France, is French and is a butcher; good meat you only need salt and pepper as well as maybe a little thyme.
- Tie the legs together with cooking twine as I found it helps keep the juices inside which makes for a juicer chicken.
- Use a meat thermometer and do not rely on time. I cook my chicken until the internal temperature at the meatiest area near the thigh is 165. The juices will run clear when you poke the flesh to test the temperature.
- Save the chicken carcass and make chicken stock
Tools:
- Roasting pan – you can use metal or glass. I prefer glass.
- Meat Thermometer
- Cooking twine
More Chicken Recipes
Creamy Dijon Chicken and Mushrooms
Classic Roast Chicken

Everyone should have one recipe in their back-pocket that they are known for, and that is easy to make. This Classic Roast Chicken is our recipe. Everyone that has enjoyed it, always loves it. The secret is salting the chicken one - two days before roasting, and then letting the chicken air dry for 24 hours.
See Notes as well as blog post on Chez Us for more information.
Ingredients
- One 3 - 4 pound cage free/range free chicken
- 2 tablespoons salt
- black pepper
- 5 sprigs of fresh thyme
- 2 tablespoons olive oil
- 4 ounces unsalted butter, room temperature, optional
Instructions
Read Notes before one - two days before cooking the chicken.
Preheat the oven to 425.
Massage the olive oil all over the chicken. If you are using the butter then gently lift the skin around the legs and breast and smear the butter all over under the skin.
Place the chicken in the roasting pan and stuff the thyme sprigs inside the chicken. Tie the legs together with cooking twine.
Generously pepper the outside of the chicken.
Place in the oven and cook for 30 minutes.
Lower the heat to 350 and continue cooking until the internal temperature at the thickest area near the thigh is 165. The chicken I used for this shoot was almost 4 pounds and I cooked for another 50 minutes after the initial 30 minutes.
Remove the chicken from the oven, and sprinkle fresh thyme leaves over the top of the chicken while it is hot.
Let sit for 10 minutes before carving.
After removing the chicken from the roasting pan gently reheat the pan juices until slightly reduced then drizzle over the chicken or serve alongside.
Serve.
Eat.
Notes
One to two days before roasting place the chicken in a glass dish and salt allover the bird. Really get in there and massage the salt all over, including inside the cavity.
If you are salting the bird two days before cooking I place the salted bird in a large glass container with a lid or large ziplock bag. If I am salting the bird one day before cooking I leave it in a glass baking dish uncovered in the refrigerator.
Let the chicken air dry for 24 hours uncovered in the refrigerator.
Remove the chicken from the refrigerator 1 hour prior to starting to cook.

