
Is pull-apart bread flying around the internet or what? It seems that every time I hop over to Pinterest, there is another pull-apart bread or at least a version of another one. After some crazy research, I found out who the culprit was who developed this sinfully delicious baked product. Flo Braker, bless her heart, has been feeding the baking world since creating Lemon Scented Pull-Apart Bread. I have yet to make this particular recipe or another sweet variation; but, it is definitely part of my baking plan. Instead of going sweet, I decided to go savory with this cheesy garlic pull-apart bread recipe. We were serving Italian food for a dinner party, and I thought this would be more fun than traditional garlic bread.
I have been keeping this dirty little secret from Y’all for the past 5 months; warm, cheesy, garlicky pull-apart bread. I was fine-tuning the same ole (yawn, boring) garlic bread recipe last year when I had a thought; why not make my usual garlic bread completely different. Completely more fun. I pulled Ms. Braker’s recipe from my give-it-a-try files and got to work.
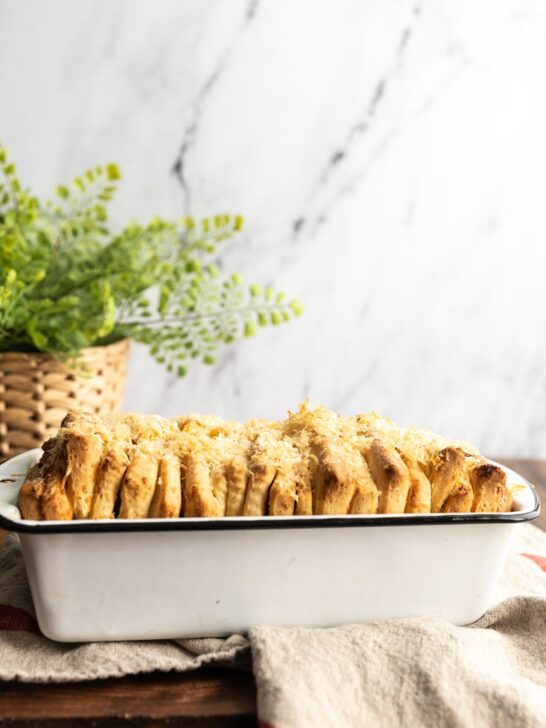
Don’t fret that there are too many steps to making this garlic bread. The recipe is very simple, and the bread comes out very light and fluffy. The dough is a dream to work with; silky and springy. I loved working with it.
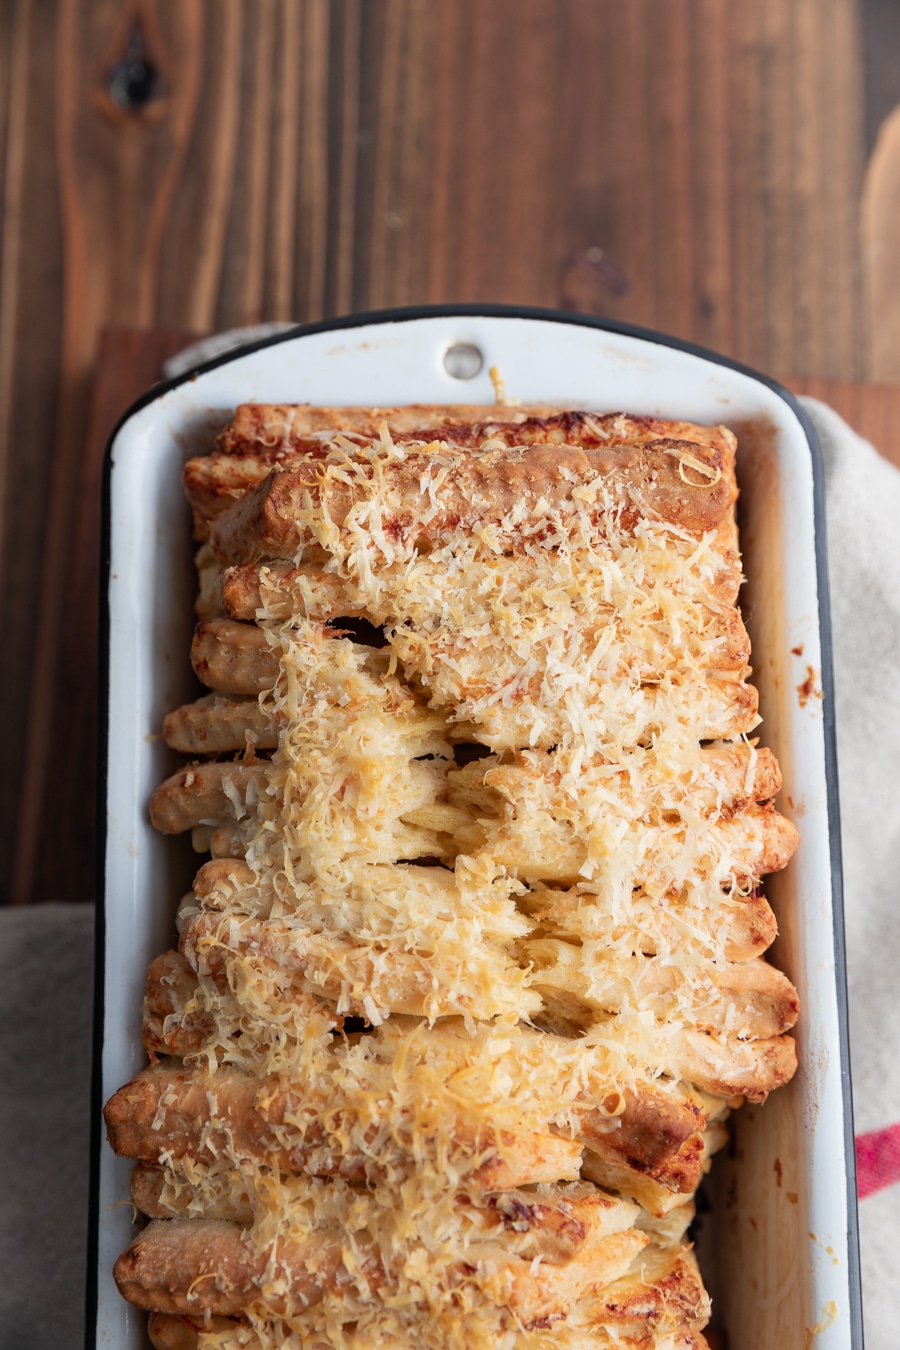
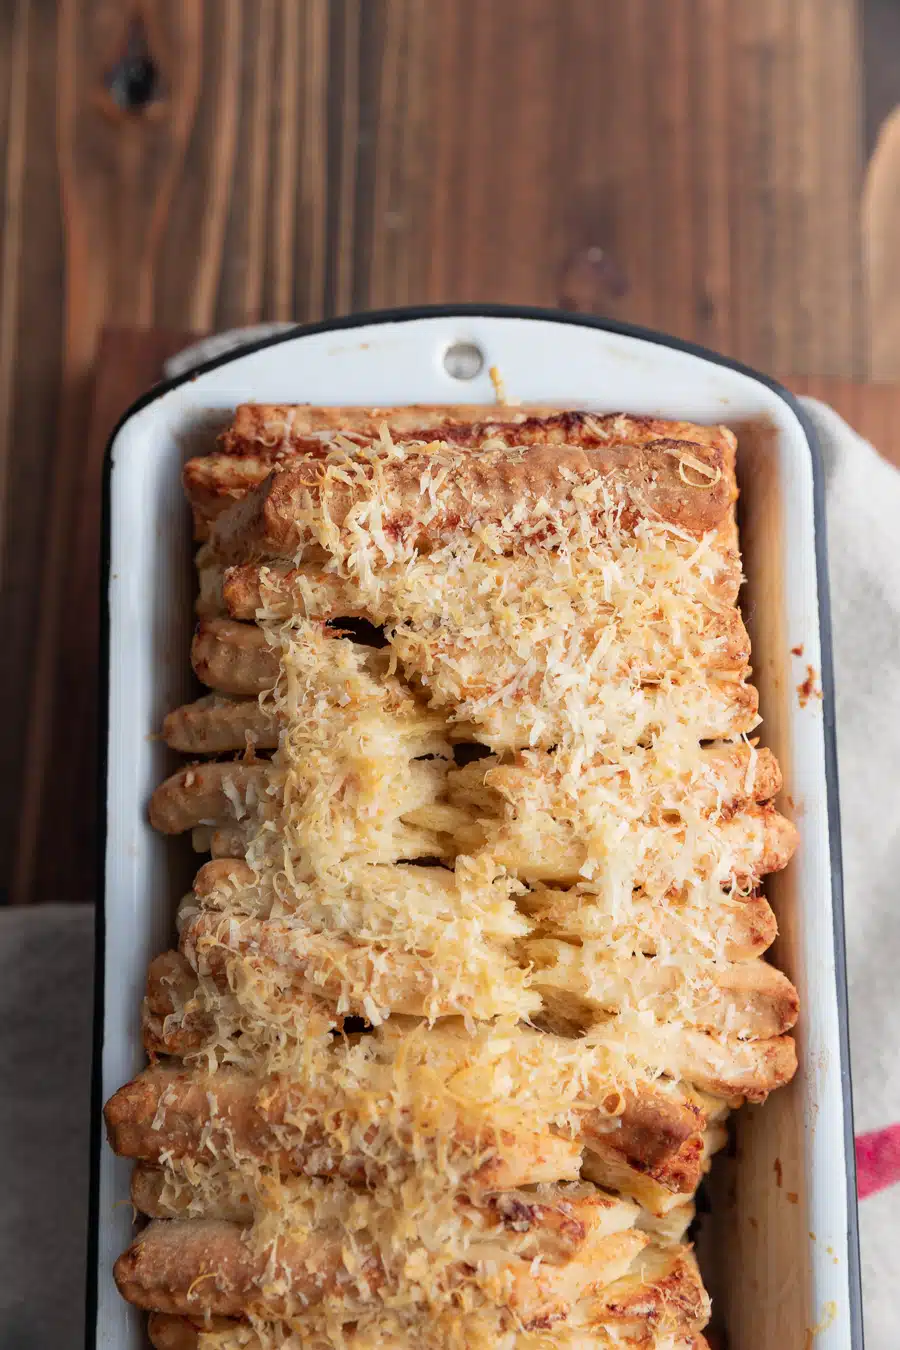
When I made this bread for a dinner party this week, I decided to use some green garlic instead of the regular fresh garlic. You can use whatever you like, but I do love to use green garlic when it is available as it is slightly sweet and floral. It was as good as when I make it with regular garlic, just not as pungent. The cheese melts nicely into the dough, and the top gets a little crunch, which I love.
Recipe: Cheesy Garlic Pull-Apart Bread
Ingredients:
*inspired by Lemon-Scented Pull-Apart Bread
2 3/4 cups ap flour
2 teaspoons sugar
1 teaspoon salt
2 1/4 teaspoons instant yeast (1 envelope)
1/3 cup whole milk
3 ounces unsalted butter
1/4 cup water
2 large eggs, room temperature
1 cup grated parmesan
1/2 cup unsalted butter
2 green garlic bulbs with part of the green or 4 cloves garlic, thinly sliced or 3 small garlic cloves
1 teaspoon salt
How To:
Making the dough:
Stir together 2 cups of flour, sugar, yeast, and 1 teaspoon salt in the bowl of a mixer.
In a small saucepan, heat the milk, and 3 ounces of butter over low heat just until the butter is melted.
Remove from the heat, add the water, and set aside until 120 – 130 F, about 1 – 2 minutes.
Pour the milk mixture over the flour mixture and using a rubber spatula, mix until the dry ingredients are evenly moistened.
Attach the bowl to the mixer, and fit with the dough attachment. With the mixer on low speed, mix for 3 minutes.
Add one egg, at a time, mixing well after each addition just until incorporated.
Stop the mixer, add 1/2 cup of the remaining flour, and resume mixing on low speed until the dough is smooth, 30 – 45 seconds.
Add 3 more tablespoons of flour and mix on medium speed until the dough is smooth, soft and slightly sticky; about 2 minutes.
Putting it all together:
Sprinkle a work surface with 1 tablespoon flour and center the dough on the flour.
Knead gently until smooth and no longer sticky, about 1 – 2 minutes, adding an additional 1 – 2 tablespoons flour only if necessary to lessen the stickiness.
Lightly oil a large bowl, and place the dough in it.
Cover the bowl securely with plastic wrap and let the dough rise in a warm place (70 degrees) until doubled in size, about 60 minutes.
Gently press the dough, if your finger indentation remains, the dough is ready for the next step.
In a small saucepan add the 1/2 cup of butter and the thinly sliced pieces of garlic, over low heat. Stir until melted. Remove from the heat. Set aside.
Center a rack in the oven and preheat to 350.
Lightly butter a 9 by 5 by 3-inch loaf pan.
Gently deflate the dough.
On a lightly floured surface, roll out the dough into a 20 by 12-inch rectangle. using a pastry brush spread half of the melted butter generously over the dough.
Cut the dough crosswise into 5 equal strips. I use a pastry cutter.
Evenly distribute the grated cheese among the strips.
Gently stack the strips on top of each other until you have a stack of 5 rectangles.
Using a very sharp knife, slice the stack crosswise through the layers to create 6 equal strips, about 4 by 2 inches.
Fit the layered strips into the loaf pan, cut edges up and side by side.
There will be plenty of space on either side of the strips, that is fine because space will fill up with rising and baking.
Loosely cover the pan with plastic wrap and let the dough rise in a warm place (70 degrees) until puffy and almost doubled in size, about 30 – 40 minutes.
Lightly press the dough with a fingertip to check for that indentation.
Place the loaf pan onto a cookie sheet. Bake the bread for 15 minutes.
Lightly brush the top of the bread with the remaining garlic butter. Pour any last drops over the top of the bread.
Bake another 15 – 20 minutes until the top is golden brown.
Transfer to a wire rack and let cool in the pan for 10 minutes.
Remove from the pan onto a serving board, letting any drops of warm butter and garlic fall over the top.
Serve.
Eat.
Betsy @ Desserts Required
Saturday 31st of May 2014
This is moving to the top of my MUST HAVE list. I'm sad that I do not live close to you because I would have crashed your dinner party!
Kristina
Saturday 25th of January 2014
I love it when a total stream of consciousness tour of the internet leads you back to friends. Make me this next time I come out, OK? :-*
Kelly
Sunday 3rd of June 2012
I'm about to make this for a friend's birthday and I'm so excited to see how it turns out! I've only ever made beer bread, so this should be interesting. I also absolutely do not own a bowl mixer- I only have my Mom's hand mixer from the '70s. Aaand here we go!
Karen (Back Road Journal)
Monday 28th of May 2012
I am new to your blog and wanted to let you know how much I enjoy it. Your photos are outstanding and your recipes sound terrific. This particular post stopped me in my tracks. My friends would certainly enjoy this bread instead of typical garlic bread.
Denise Woodward
Saturday 2nd of June 2012
Karen - thanks for the kind words. You must try this recipe. It is a show-stopper, as well as delicious!
Maureen @ Orgasmic Chef
Monday 21st of May 2012
This looks fantastic! I can't wait to make it. I'm drooling already.