Yes, it does take time to make this recipe but you want to really cook the heck out of those bones as you are trying to extract the collagen. Simmer for hours upon hours does just this and you will be left with a rich and creamy broth.
I usually do not taste the bone broth until I am ready to place it into jars. I am not sure why but that is how I make it. When I tasted this recipe yesterday, I could not stop tasting it. It is so full of flavor. I may actually enjoy it more than my beef bone broth and I love that recipe too.
Since I started writing about bone broth, I have been getting emails about showing the steps. I made a batch last week, decided to shoot the process. I have updated my process after reading the cookbook Brodo. Though I feel confident about the bones I am buying he does talk about how bones can be contaminated. To be sure, I am now simmering the bones for an hour before roasting.
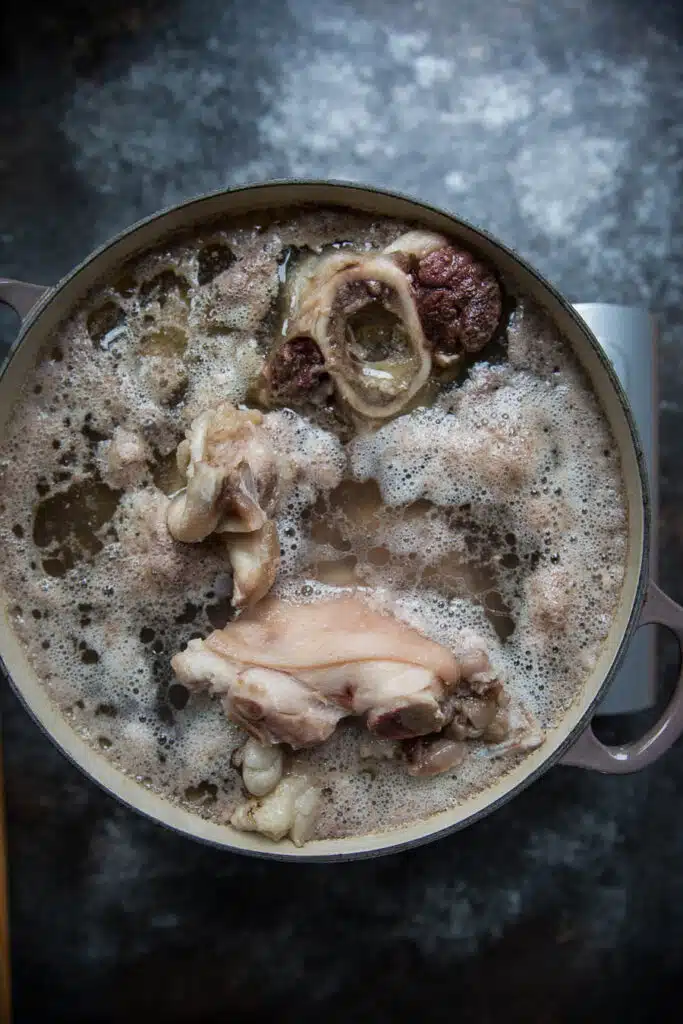
Boil and then simmer the bones before roasting.
Roast the bones to achieve a richer flavor.
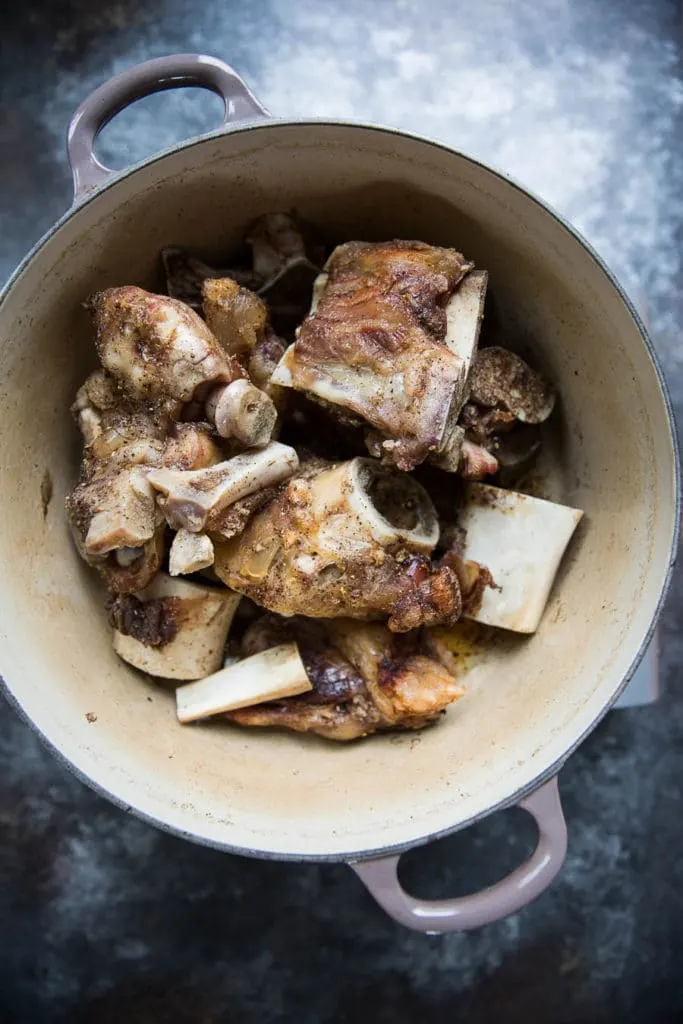
After roasting the bones, cover with water and begin the cooking process.
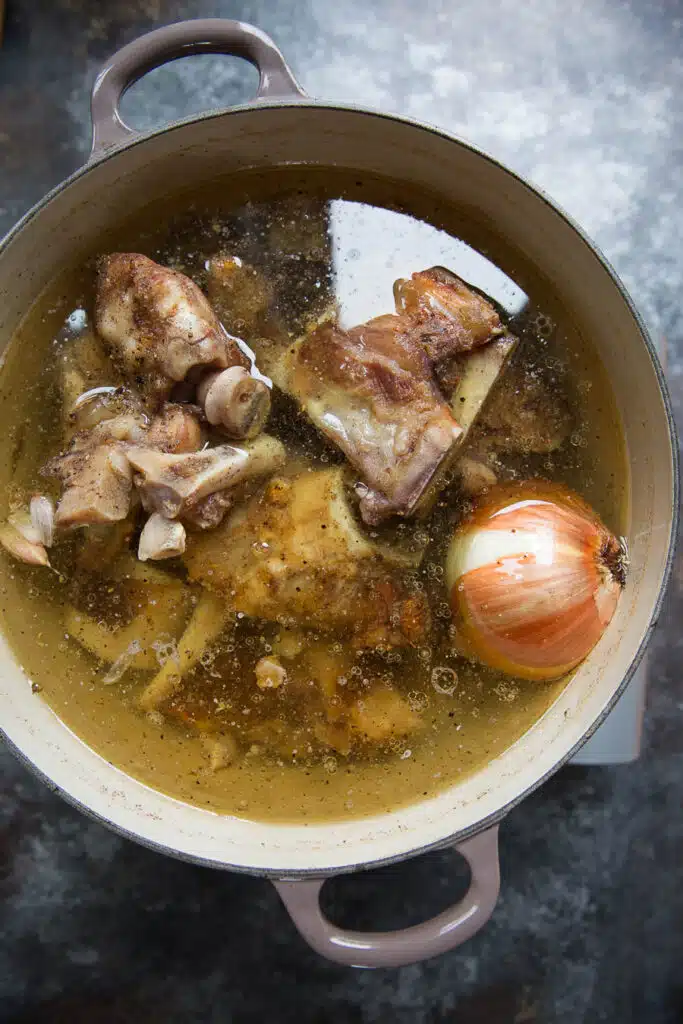
I forgot to take a photo after the first day of simmering the bones, this is after the second day. After the first day, there was about 1/2″ of fat on the top which I scraped off.
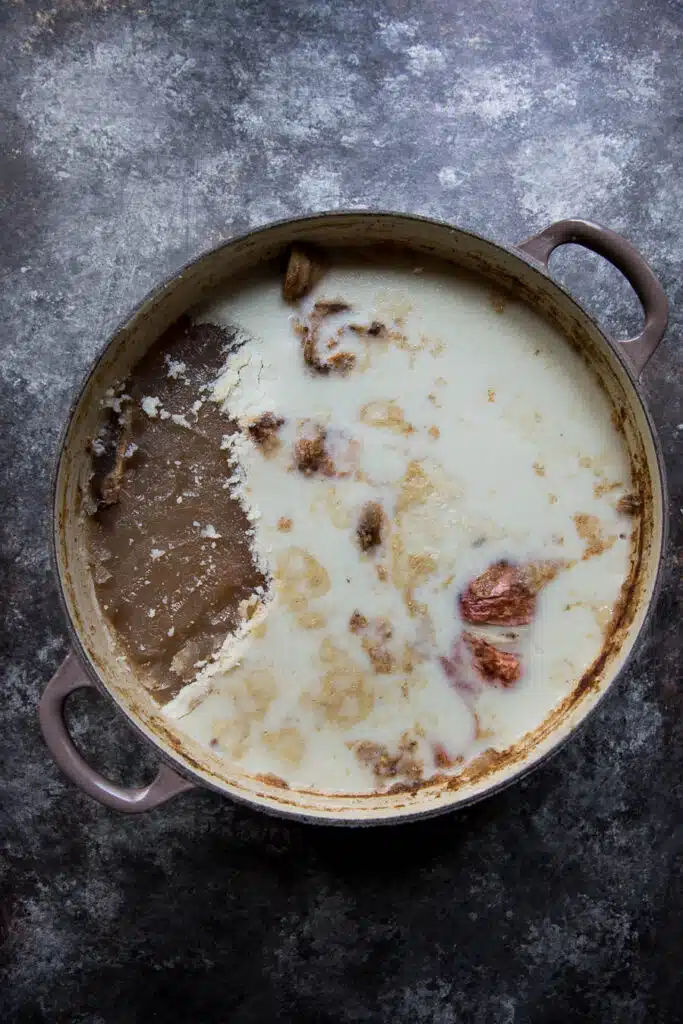
This is the day I am going to strain and jar. Notice that there is hardly any fat. I scrape what is left off, then I reheat before straining and jarring the bone broth.
Tips:
- Use good quality meat from a reliable butcher.
- Boil the bones before roasting to be sure to reduce any cross contamination. I use to skip this step but after more research I have made it a priority.
- It takes time to make and don’t skimp as you want to really break down the collagen to get all the nutrients that are so good for you.
Tools:
- Large Dutch Oven or Stock Pot. I prefer a Dutch Oven as I can roast the bones in the same container as making the broth.
- Jars that can be sterilized and that are freezer safe unless you plan on consuming the bone broth within a few days. I like to put some in the freezer for easy lunches.
Pork Bone Broth
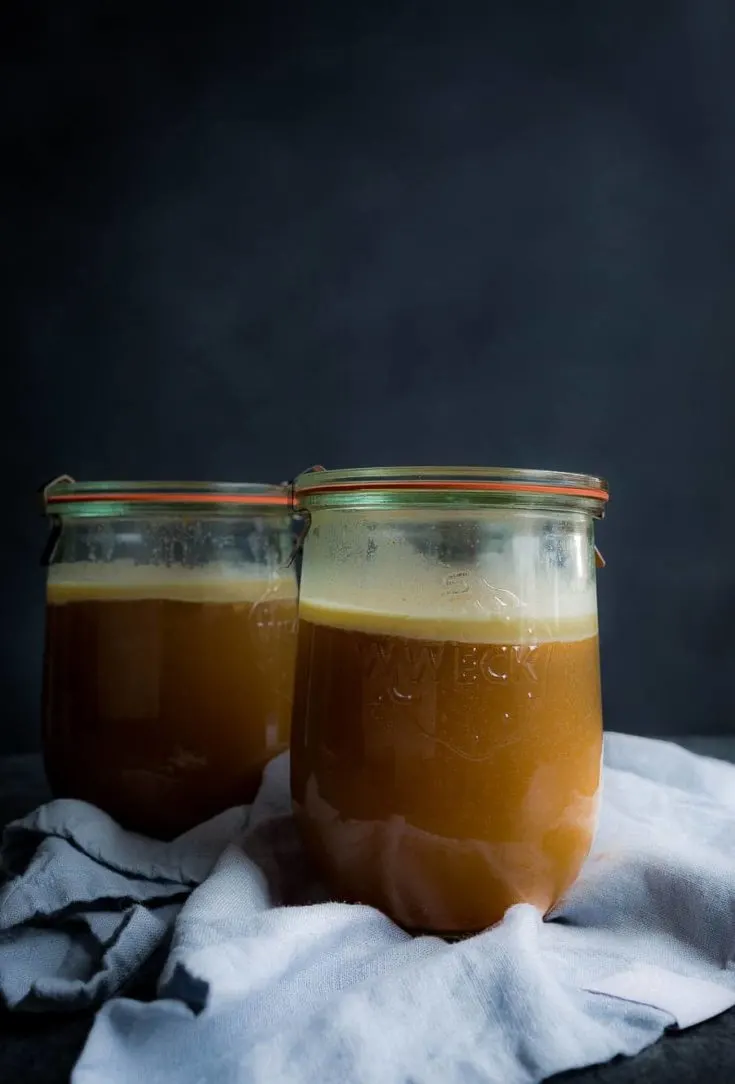
Making Pork Bone Broth at home takes time and dedication but the end result is a vitamin rich broth that is good for you.
Ingredients
- 5 pounds pastured raised pork bones
- 20 cups of water
- 1 yellow onion, paper left on, cut in half
- 3 cloves garlic, smashed and paper left on
- drizzle olive oil
Instructions
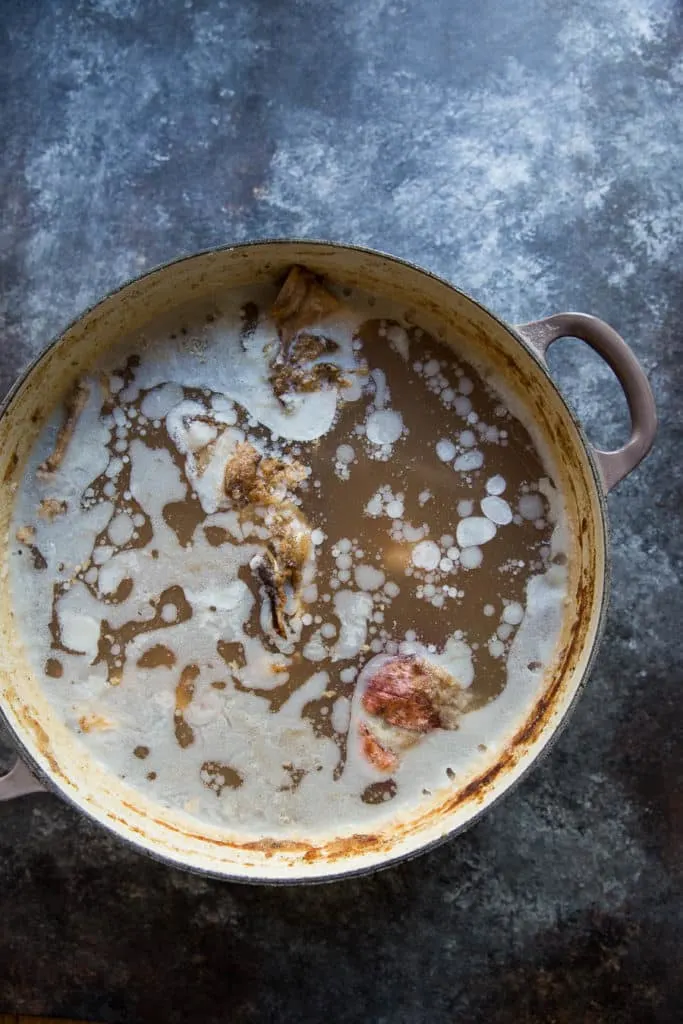
Place the bones into the dutch oven and cover with cold water. Place on the stove and bring to a boil. Lower the heat to a simmer. Every 15 minutes for an hour, I skim off any foam that is on the top. I did not have any foam until the last 15 minutes - see the above photo.
Drain the bones into a colander.
Preheat oven to 250.
Place bones into the dutch oven. Drizzle with some olive oil.
Slide into the oven and roast for 3 hours. Every hour, I use a wooden spoon to move the bones around.
Remove from the oven, place on the stove on medium heat and add the water, onion, and garlic. Bring to a boil.
Lower the heat to a very low simmer and cook for 5 hours. I stir every hour. If the level of water goes down more than an inch I add more water to the pot. Once the 5 hours is up, I turn off the stove and let the mixture cool down. Then I place in the refrigerator overnight.
Next morning while I am making coffee, I take the pot out and let it come to room temperature for an hour. Then I skim off any fat that has solidified on top before heating the mixture up over very low heat. I continue cooking for the entire day - about 7 hours. Then I let it cool and repeat the process the next day.
After cooking on the third day, I let the broth cool to room temperature and then place in the refrigerator. The next day, I scrape off any fat, reheat and then I strain through a colander lined with cheesecloth into a large bowl or pot. Then I place back into the dutch oven and gently heat.
Remove from the heat then pour into freezer-proof glass jars. I like to use the 4 cups Weck Tulip jars. I only fill to the top of the Weck logo which is about 6 1/2 ladles as it will expand when frozen. You may have to play around with the amounts for the jars you have.
Let cool to room temperature, then seal and place into the freezer.
Notes
I use a 5 1/4 quart dutch oven to cook the broth in - makes between 12 - 14 (1 cup) servings.
Be sure to use freezer proof jars when storing the bone broth.


AnniC
Sunday 9th of February 2020
I've seen one other blog that recommends boiling to remove "contaminants," then roasting, then simmering for days. I wonder, for those who do use an Instant Pot or other pressure cooker, if the boiling before hand is needed though. The high temp/pressure doesn't physically remove materials before cooking down the bones, but it kills organisms if the contaminants are organic, and these are then filtered away, for what it's worth at that point. Dead micro-organisms don't bother me. However, if boiling and discarding that water separates out non-organics (lead, arsenic, or other creepy things that might be in animal tissues), that makes more sense to me. Otherwise, I also worry about what good elements (calcium, magnesium?) are discarded by boiling and pouring off that water. Do you know, and is the taste or consistency any different with the added boiling step? I do like the one-pot, 3-hour-total process that you get with an Instant Pot, and while I like the flavor better with roasting, for general cooking with bone broth, even that difference isn't huge. Sorry to ramble, but also, is there an advantage other than expediency for leaving the onion intact? I peel and chop mine coarsely and usually toss in a stalk of celery chopped into 2-3 pieces and a few sprigs of thyme when I make chicken/beef bone broth. I'm making pork bone broth for the first time this weekend and found your excellent Chez Us blog. Thanks!
Denise Woodward
Sunday 9th of February 2020
Hello Anni - great questions. From what I have read you want to boil before roasting. That being said on an occasion or two, when I am feeling lazy I just go to the roasting step; and I have not died or gotten sick yet. I have talked to a few people who say NOT TO Instant Pot or pressure cook because you do not want to release the steam of meat and broth into the kitchen as it makes a crazy mess. :). No benefits for keeping the onion together - this is just how I cook with onion when making stock or cooking beans. I do not add any carrots or celery as I want to keep the sugars low. I occasionally toss in herbs though. Let me know how it comes out for you!
Jeanine
Wednesday 12th of December 2018
Do you reuse the first batch of water for the 3 days of cooking or is that fresh water after you’ve initially boiled and simmered the bones, before roasting?
Denise Woodward
Thursday 13th of December 2018
Hello! I do not use the water from boiling the bones before roasting. After roasting over the bones with the 20 cups of water and proceed. Enjoy!
Melanie L Bray
Tuesday 16th of January 2018
Have you done any cooking of bone broth using the InstantPot? I've started making chicken bone broth with it, after cooking down a full chicken.
Denise Woodward
Wednesday 17th of January 2018
Hi Melanie, Thanks for reaching out. We are probably the only people alive that do not use the instant pot. Call us old fashioned, I guess. How does the broth work out for you?