
Before Shelter in Place even kicked off our local markets went into panic mode. It was the first week of March. Over morning coffee Lenny mentioned he was concerned and that we should really stock up the non-existent pantry. I am the home cook that likes to go to the market every couple of days …
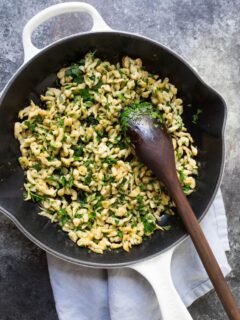
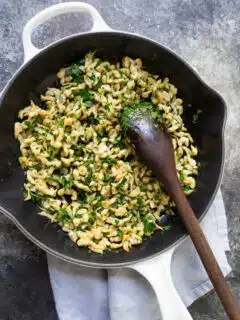
Pasta and Noodles
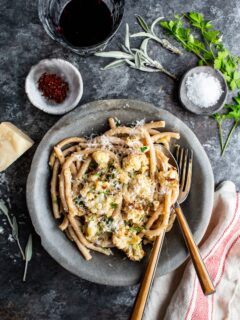
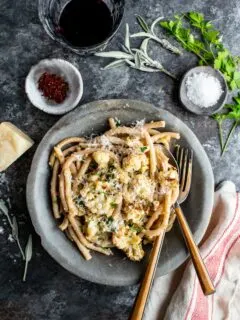
Cauliflower has become a staple since we started eating a plant-heavy diet this past year. I never use to be very excited when a big bowl of steamed cauliflower or broccoli was presented to me. Then I discovered the joy of roasting vegetables. That was a game-changer not only for these vegetables but for most …
Here I am mid-February, staring at a list of tasks. I had big plans as well as plans to shoot five new recipes for the month. Recipes that are inspired by love. Instead, I am sulking quietly to myself as I only have one. Not a bad one trust me but it is only one. …
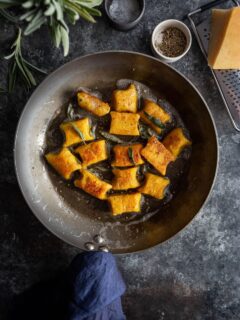

I warned you that I cannot get enough pumpkin. Three weeks ago I was cleaning out my cookbooks when I decided to flip open my favorite go-to book for Italian recipes, The Collection by Antonio Carluccio, and immediately turned to my favorite gnocchi recipe. I could not shake the thought of a big bowl of …
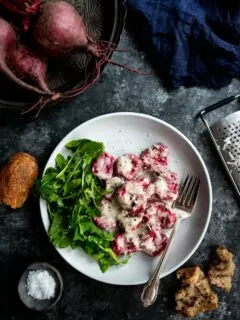
We had dinner with friends at a long-standing German restaurant in San Francisco, Suppenkuche. I remember going there in my twenties as the beers were big and you got your moneys worth. Nothing has changed; the beers were still big but the food was even better than I remember. I went traditional and enjoyed a big …
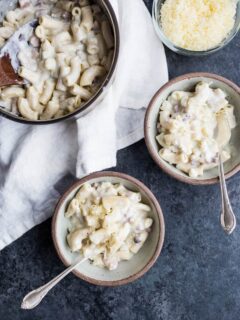
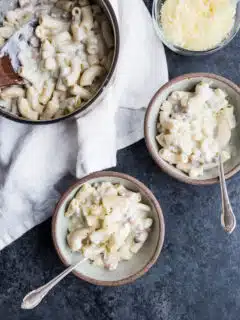
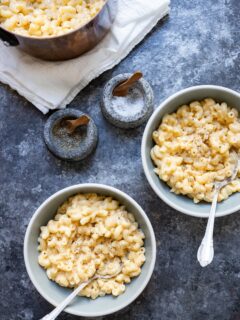
A big bowl of creamy blue cheese mac is the ultimate comfort food. The past month has been challenging as well as emotionally draining. On top of it all, we are swamped with work. Getting ready for three big projects to wrap up 2017 is keeping us on our toes. With the emotional juggling, we …