
Last week the internet in our neighborhood, which left me wondering, how did we ever live without it. Does anyone else remember having to use a typewriter or write a memo instead of email? I took advantage of the stillness and cooked. It had been awhile since I did not have any distractions, not that …
Italian


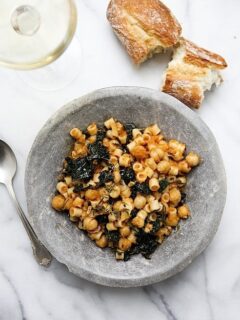
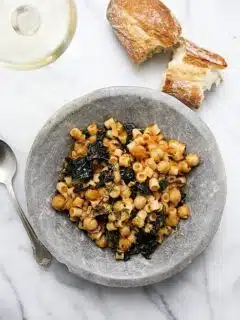
We have been invited to play along with at Kitchen PLAY and Knuckle Salad during Munch Madness. This fun event is being sponsored by the United States Potato Board. To familiarize you with Munch Madness, it is a bracketed playoff where eight food bloggers share their recipes to compete for the title of 2013 Munch …
I have fallen back in love with an old flame, and that old flame is Bon Appetit magazine. A few years ago, I fell out of love … hard! I am a visual person and something changed abruptly. The images were different, the recipes did not excite and the overall feel left me lifeless. Then …
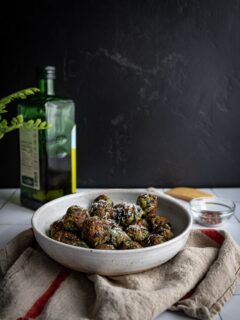
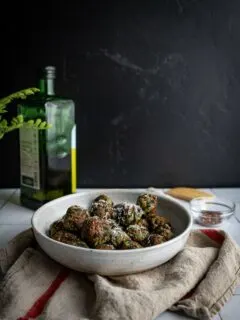
I have been having an outrageous love affair with these Spinach Balls. These little nuggets of goodness are so good. Honestly, I cannot get enough of them. Sometimes when I find a new recipe I just keep making it over and over again, wondering how to make them better. I can’t keep going as they …
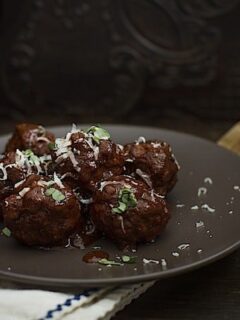
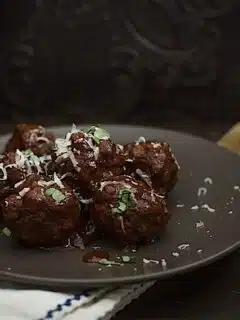
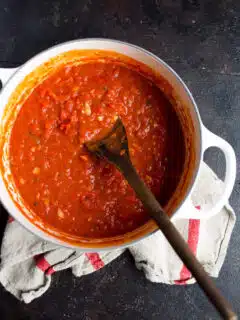
The secret to a deliciously moist as well as flavorful meatball is a slow braise in a low heat oven. This recipe for Slow Braised Italian Meatballs is a favorite around here as it is easy enough to make during a busy week as well it tucks away nicely in the freezer for those lazy …


Here I am sharing the last post of 2011 with you. Something slightly sweet, and slightly tart. Festive and bubbly. Worth making and toasting a new year with the ones you love. We love this recipe for Aperol Champagne Cocktail, and it has become our go-to holiday cocktail this past year. Heck, it is …