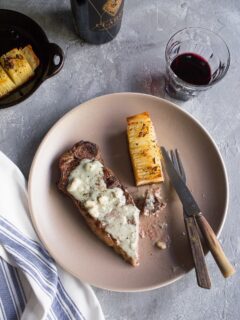

We are starting to talk about if we should go out for Valentine’s Day this year or stay in for our traditional dinner of love, grilled steak with a rich Roquefort Sauce. Sometimes staying in doesn’t feel as special since we tend to eat pretty well, most evenings when we cook at home. Then the …
French


Do you have a favorite salad? You know the one, you see it on a menu and you always order it. For me that salad would be the French treasure Frisee with Lardons. It is always my go-to for lunch and even sometimes dinner when we eat at a French Bistro. I find the salad …

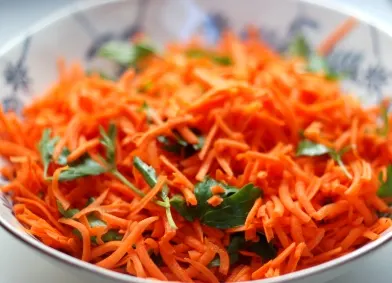
I have been dying to make this recipe for Carrot Rapees for a couple weeks. I am not sure why as it is basically a big bowl of carrots; but, the photos visually grabbed me and I have been thinking about it often. We had a big bowl of this sound around all weekend. It …