
There is a restaurant in Oakland that makes a dreamy panna cotta and even before ordering our entrees I check out the dessert menu. If panna cotta is on it, then I know I need to save room for dessert. My friend Paula recently made Whiskey Panna Cotta. I told her it was my love …
Dessert


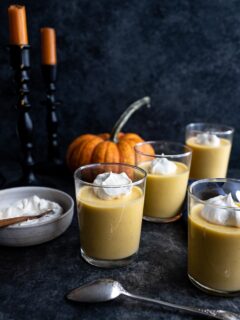
This is the last recipe that I developed for Whole Food and Clover Stornetta using their new Non GMO Products. I may have saved the best for last with this creamy Pomegranate Panna Cotta. Panna Cotta is one of those fall back on desserts when I need something sweet to serve after dinner. Being …

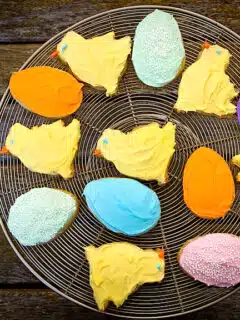
Figolli is the most important Maltese Easter dessert. They have the texture of a shortbread cookie and are cut into shapes representing fertility. Before baking to a golden brown, a homemade almond paste is sandwiched between two of the cut out shapes. Traditionally, these cookies were enjoyed by children, post Lent, not only by eating them but also by helping mum bake them.
The end of August found me in Seattle for IFBC. I was not going to go. To be honest, I had my fair share of food conferences last year and had decided to sit back in the shadows to enjoy them moving forward. Upon returning from France, we had to high tail it to Seattle …