
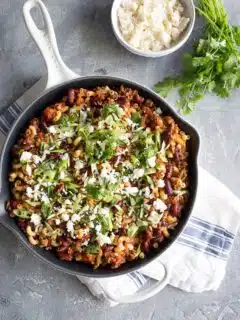
When we come home with a couple of days between projects, we try to cram in that home feeling by cooking comfort food, running errands and hoping to see people we care about. Needless to say, we had this comfort food recipe for Beef Taco Skillet five days in a row while I perfected it, …
Beef

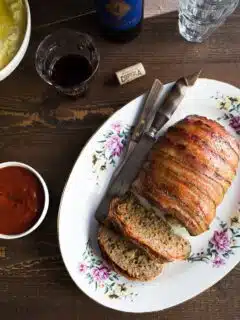
Half-way through October, and I am eagerly waiting for the weather to cool down as I am craving comfort food. I am hungry for thick squash-based soups and meaty stews that simmer all day on the stove. As well, as roasted meats served alongside tender winter greens. You know the kind of food I am …

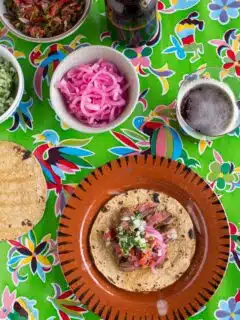
What a weekend it was, and not necessarily in a good way; maybe we are in retrograde. I felt like everything that we had planned fell through at the last minute from dinner plans to try to see people we want to see. Then to top it all off I disappointed my god-daughter and have …

I can not believe summer is almost over. I felt the first nip of fall during my market stroll over the weekend even though the bounty of summer was more than plentiful. There was that slight crispness in the air, the one that grabs you and begs for bowls of comfort food. Well, I refuse …


Light up your grills. As Grill Season is officially here with the kick-off of this outrageous burger recipe. OMG, it is so darn good, that you will want more than one. In fact, Lenny declared this recipe for Mushroom Beef and Swiss Cheese Burgers to be the best yet. That is a pretty bold statement coming …

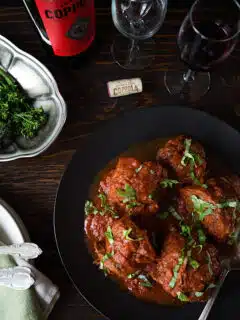
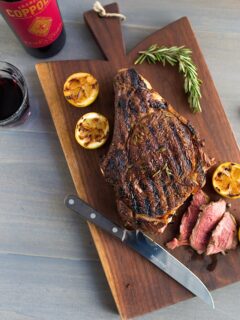
I am thrilled to share our first recipe for our partnership with Francis Ford Coppola Winery, for Braciole. If you are not familiar with Braciole, think of it as a grown-up meatball. I am sure you are going to enjoy this recipe as much as we do especially when using the Diamond Red Blend in the cooking …