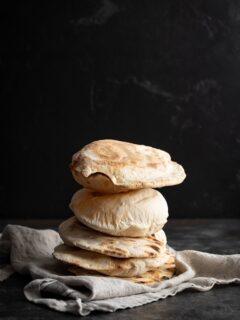
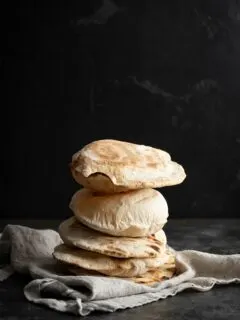
I use to buy pita bread then the pandemic hit. Once an item that was always available was suddenly sold out, everywhere. I did the next best thing and started baking pita bread myself, at home. It was a glorious thing. Pillows and pockets of bread any time I wanted it. Why had I waited …
Baking


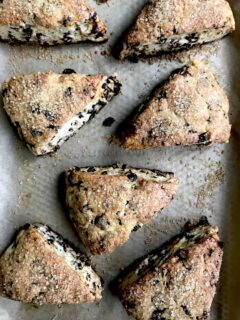
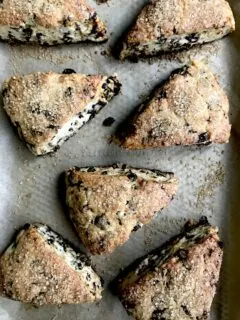
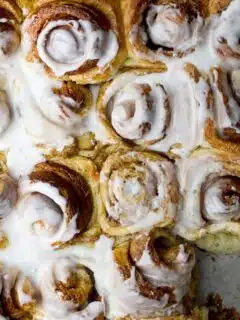
One of my favorite things to do each season is to create a new sweet roll recipe. We don’t eat sweet rolls or cinnamons often, so when we do I try to make it a little extra special. Besides I love creating new sweet recipes using seasonal fruit as the sweetener opposed to a lot …
This is one of those recipes which I intended on sharing a while ago, actually for Easter. Then life took over, and maybe I was a tad lazy too. It doesn’t matter when or why instead it is nice to share it for Mother’s Day. If I were going to see my mom or even …
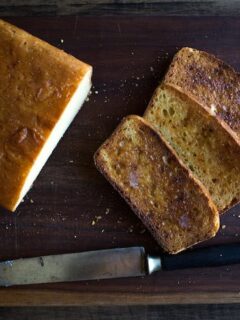
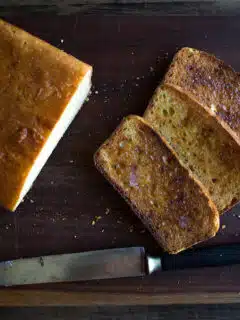
I was shooting some product for a client the other day and needed bread. I searched for a gorgeous loaf that was photo worthy but couldn’t find one at the market. I did the next best thing, I baked a loaf of this English Muffin Bread. Then I decided not to keep it so …

I have been on the fence all day about what post to share with you today. Originally I was going to share Friday Happy Hour; but, we are working on a series of posts for cocktails and want to nail down one before sharing. Next Friday. I decided it was time to share something …

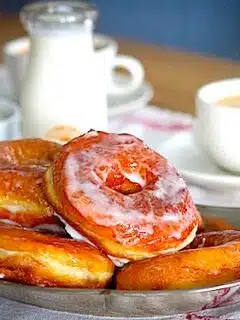
The October 2010 Daring Bakers challenge was hosted by Lori of Butter Me Up. Lori chose to challenge DBers to make doughnuts. She used several sources for her recipes including Alton Brown, Nancy Silverton, Kate Neumann and Epicurious.