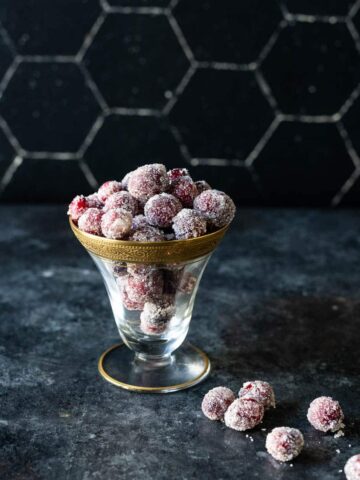
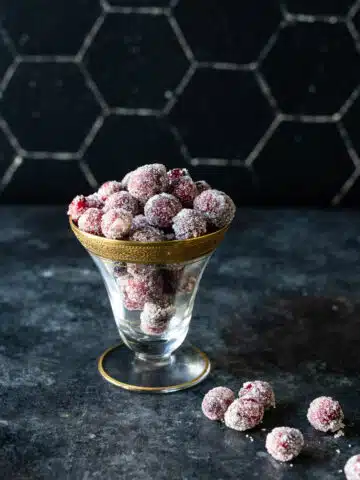
I have decided that I am going to make these sparkly sugar cranberries as often as possible while cranberries are in season. This is a recipe I created years ago for Eat Boutique, who unfortunately is not around any longer. I revamped the recipe during lock-down, and have been enjoying every winter since. I use …

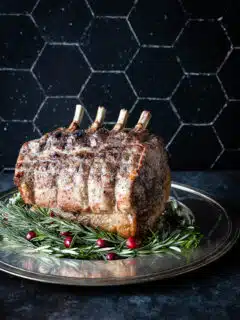
I have been meaning to share this recipe for a roasted pork prime rib since 2020. I always love to have a prime rib for the Christmas holiday as it is more festive than a turkey, and why repeat Thanksgiving. During lockdown there was no way two of us could eat an entire prime rib. …